
Tired of Wearing the Same Old Clothes?
Do you ever feel like you’re stuck in a fashion rut? You open your closet and see the same old outfits staring back at you. But what if you could give those clothes a fresh new look? That’s where patches come in! They’re a fun and easy way to update your style. But for patches to work their magic, they need something special, a strong backing that keeps them in place.
Patches may be the stars of the show, but there’s a supporting actor that deserves some recognition: the patch backing. Without it, your favorite patches wouldn’t stay put. Whether you’re revamping an old jacket, adding some flair to a bag, or promoting your brand on a hat, choosing the right backing is key.
These behind-the-scenes helpers might not get the glory, but they’re essential for taking your style to the next level. And the good news? It’s easy to understand and choose the right one. So, let’s take a look at some of the different backing options available.
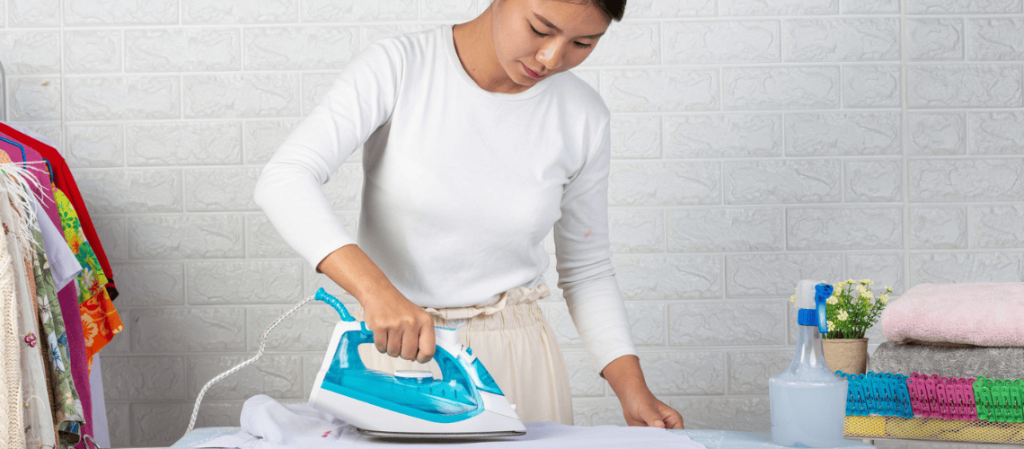
1. Iron-On Backing
When it comes to patch backing, one option stands the test of time: iron-on backing. It’s a DIY dream come true, with a simple and hassle-free application process. No sewing required! Iron-on backing is perfect for clothes and bags, but be careful not to use it on delicate fabrics like silk.
A Step-by-Step Guide to Attaching Embroidered Patches
Want to attach an embroidered patch to your favorite shirt? Here’s how:
- Prep the fabric: Heat the shirt for 10 seconds at 320°F (160°C) to remove moisture and wrinkles.
- Position the patch: Place the patch where you want it and secure it with heat-resistant tape.
- Add protection: Cover the patch with a protective fabric.
- Heat press: Apply heat from the front at 320°F (160°C) for 20-30 seconds with medium pressure.
- Let it cool: Allow the patch to cool to room temperature before removing the tape. This sets the adhesive properly.
Attaching Embroidered Patches to Hats with IQ 360 Press
Do you want to add a custom embroidered patch to a hat? The IQ 360 Press makes it easy.
Here’s a step-by-step guide:
- Preheat the cap: Heat the cap to 320°F (160°C) for 10 seconds.
- Secure the patch: Use heat-resistant tape to hold the patch in place.
- Add protection: Cover the patch with a protective fabric.
- Heat press: Apply heat from the front at 320°F (160°C) for 20-30 seconds, with a pressure setting of 2-4Pr.
- Let it cool: Allow the patch to cool to room temperature before removing the tape for a strong and lasting bond.
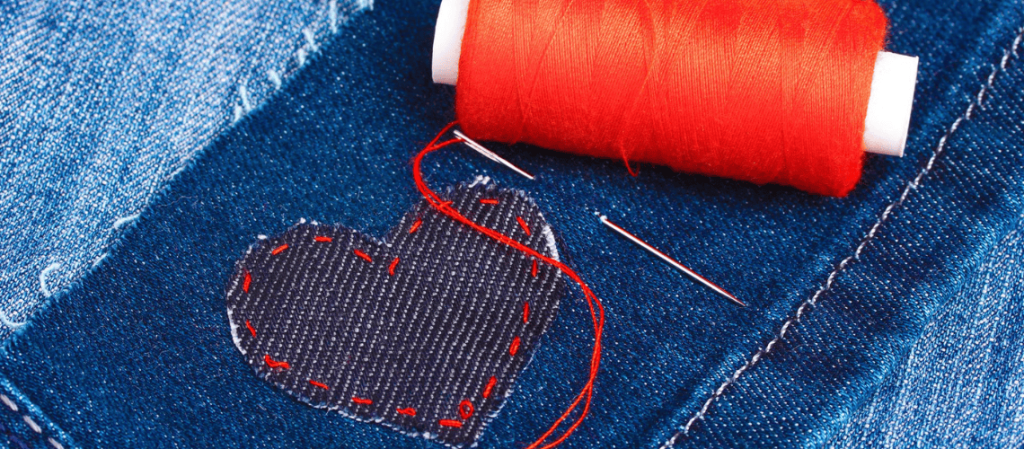
2. Attaching with Sew-on Backing
If you’re handy with a needle and thread, or just want a more secure way to attach your patches, Sew-on backing is the way to go. This traditional method keeps your patches firmly in place, giving your outfit a unique, handmade touch. It’s especially perfect for durable fabrics like denim and leather, which can withstand sturdy stitching.
A Simple Process
All you need to attach your patch is :
- A needle
- Thread
- A sewing machine (Optional)
Just sew the patch onto your fabric where you want it, and you’re done! While it may take some time and effort, the result is a durable and long-lasting attachment.
3. Velcro Backing: Easy On, Easy Off
Looking for an easy way to switch up your patches? Velcro backing is the answer! It’s perfect for those who like to mix and match their patches or change their look frequently.
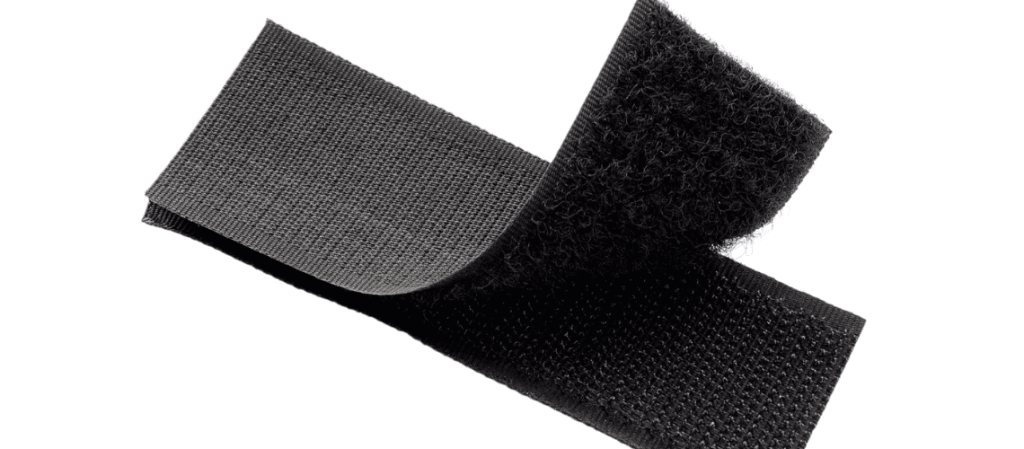
How it Works
It’s simple! One part of the Velcro attaches to your patch, while the other part sticks to your clothing. This creates a secure yet removable bond, allowing you to:
- Attach and detach your patch as many times as you want
- Easily swap out patches to update your look
- Enjoy the flexibility to change your style whenever you want
5. Adhesive Backing: Quick, Easy, and Temporary
When you’re short on time, adhesive backing is the perfect solution. Think of it like a sticky note for your clothes!
This type of backing is great for adding a temporary touch to your outfit. It’s effortless, convenient, and always a good option.
How it Works
- Peel off the cover to reveal the sticky side.
- Press the patch firmly onto your fabric.
- Smooth out any wrinkles to ensure a secure fit.
That’s it! Your patch is now securely in place, and you’re good to go!
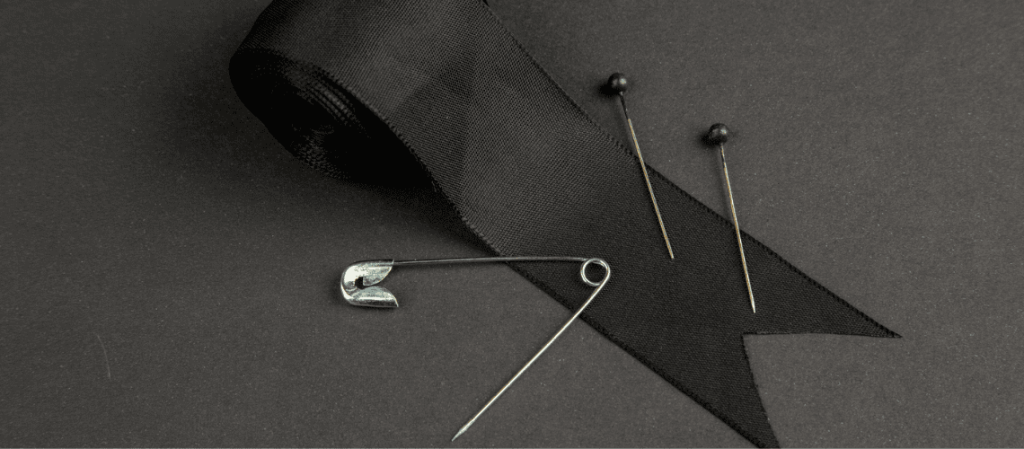
6. Pinning Made Easy!
Take your enamel pins to the next level with these clever backing options:
- Single Clutch: A sleek metal clasp that keeps your pin securely in place.
- Double Clutch: Double the support for larger pins with this sturdy two-clasp design.
- Single Rubber: Soft, flexible, and effortless to put on and take off.
- Double Rubber: Heavy-duty pins get extra grip with these dual rubber backers.
- Hat Clip: Safely attach your pin to hats without damaging the fabric.
- Magnetic Backing: Strong magnets keep your pins firmly in place, ideal for delicate fabrics.
- Safety Pin Backing: Easily fasten your pin through thick fabrics with this convenient safety pin design.
Patches and pins are tiny works of art that can elevate your style in an instant. With a variety of backing options at your fingertips, the possibilities are endless. Next time, choose the perfect backing to match your unique style and nail the look!